Video content is now indispensable for getting off to a flying start on social media and in marketing. After all, nothing can tell a story as visually as a short, well-made film with gripping storytelling. You are sure to get the attention of your followers and visitors.
Whether it’s a documentary, a commercial or an explainer video – it always starts with a storyboard. This sketchy representation of the project helps with planning and even more so with later implementation. Here you’ll learn how to create a storyboard and what digital tools can help you do it.
Definition: What is a storyboard?
The storyboard is the first step in the production of a film. Animators, illustrators, directors, and other media creators use the storyboard up front to create an engaging video design. They visualize their ideas on it and create a more or less exact “roadmap”. Only then does the actual production of the film begin.
In simple terms, a storyboard is the pre-created visual representation of a planned film. It contains the most important scenes and ideas and therefore consists of a series of images. These are arranged in exactly the same order as they will appear later in the finished video. This means, conversely, that the sketches in the storyboard will determine the
plot of the film in individual sequences.
When creating a storyboard, it doesn’t matter whether the images are drawn by hand or on the computer. Often, filmmakers add the spoken text already in the storyboard, much like a comic book. Experts also often write texts into the storyboard that explain the plot or give further instructions for later shooting.
Changes in the subject, changing camera angles, people – everything can be recorded using a storyboard. Purely technical aspects such as sound effects, background music or lighting are also covered, as are cinematic tricks, axis jumps or connection scenes.
The advantage of a storyboard is that it quickly becomes apparent whether the idea for a film or video is actually feasible. It also shows whether there is a common thread in the plot. If something is unclear, it can be corrected in advance quickly, easily and, above all, inexpensively. The same applies even if the implementation of a particular action would be possible only with great effort. In general: For a successful video production, you should always create a detailed storyboard in advance.
Tip: Before you start creating a storyboard, you should first create a screenplay (or also called a concept or script). Because the script is the basis of every film and also makes it easier for you to work on the storyboard.
The storyboard: The cornerstone for successful films and videos
A well-prepared storyboard can make planning a film, commercial or product video much easier. After all, every screenwriter or director has very specific images in his head of what the later work should look like. These are precisely the images that need to be conveyed to the people involved in the shoot. And this is where the storyboard comes in: it helps filmmakers visualize their ideas and put the film’s plot down on paper accurately.
The storyboard thus plays a key role in ensuring that cooperation within the film team runs smoothly. It ensures that everyone involved has a clear idea of what the later result should look like.
When creating a storyboard, it strongly depends on what is to be shot in the first place:
- For example, in a feature film – which can be quite long – usually only the most important key scenes are recorded in the storyboard. In addition, there may be descriptions of technically demanding settings. This ensures that lighting technicians, actors and camera operators later know what the director or animator had in mind.
- The situation is different for a TV spot, a commercial, a recruiting video or an image film Such productions are usually much shorter than a feature film . That’s why all scenes, transitions and shots are usually recorded directly in the storyboard.
Whether it’s a clip, video or film, a good and informative storyboard is indispensable to ensure that everything goes smoothly in the subsequent production.
Tip: It is important to select and arrange the individual images and sequences so that it is immediately clear what they are about. Ideally, it should not be necessary to explain the images with additional captions and text elements.
A good storyboard must also meet the following requirements:
- Individual images (or panels) for each scene: These images are numbered according to the scene sequence or camera setting. One new image is created per setting. Here, identical numbering to the shooting schedule and shot list has proven successful.
- Rough stage directions: Depending on the goal of the video and its complexity, the image panels are accompanied by brief annotations Further descriptions – for example, about the plot – are only used if they cannot be visualized.
- Camera angles: The script or shooting template should include multiple perspectives and camera angles. This also includes notes on the setting size of the respective scene.
- Specifications for camera movements as well as the respective type of movements of camera, persons and objects. Motion design should also be taken into account here, if this is envisaged.
- Sound settings: Details about the sound, rhythm, background noise, speech and montage of individual elements.
Checklist for your successful storyboard creation
To help you create a clear storyboard, we have prepared this checklist of questions for you:
- Traceability: Can everyone follow the plot that was created with the storyboard? Is it clear why the filmmakers chose to portray it this way?
- Comprehensibility: Do the pictures, drawings, symbols and annotations help to understand the planned film? Is everything so understandable and self-explanatory that really everyone can see the finished product already in front of his inner eye?
- Clear communication: Did you create the storyboard on your own or did you team up with the director and camera from the start? You should always consult with your colleagues to avoid unnecessary misunderstandings.
- Cinematic realization: Are all aspects relating to the film language (such as the size of individual shots, perspectives and transitions) noted on the storyboard?
- Clear objective: Is it clear what requirements the later film should fulfill?
- Clear structure: Does your storyboard almost seem like a graphic novel? Or does it really provide clarity and ensure a clear line? The common thread should be clearly recognizable.
- Relevance of annotations: Do your annotations to the images add to what can be seen or do they just describe? Are your comments on tone actionable or could you also do without for better understanding?
So you see: In order to be able to create a good and comprehensible storyboard, you should already give some thought to it in advance. Because only if your drawings are expressive and your comments are clear, you can be sure that the later film will actually correspond to your ideas. In the following, we’ll show you what (still) matters when making a good storyboard.
Create a storyboard: Here's what you should look out for
Whether you draw the storyboard for your next film project by hand or use software to create a storyboard with it: There is no such thing as “right or wrong”. It always depends on what:
- you want to achieve with the storyboard,
- for which project it is intended
- and how well future employees can recognize and implement your ideas behind them.
So it’s up to you whether you feel more comfortable on a piece of paper or on the computer. To make things a little easier for everyone, you can follow these tips:
- Procedure: A good storyboard not only reflects the later montage of images. Rather, it also shows why the images should be cut exactly this way afterwards and not differently.
- Perspectives: To create clarity, you should also include the foreground, a middle ground, and a background in each image.
- Blank spaces: If you want to show a person/object in an empty room or in a neutral environment, you can work with blank spaces. This is especially important if motion design or animations are to be inserted later.
You can learn more basic things you should pay attention to when creating a storyboard below.
Make it easy for the others - as easy as possible!
One of the basic rules when creating a storyboard is: keep it simple! This means that it’s best to use simple drawing styles and not accommodate highly complicated patterns and representations. And avoid including too many details that will only unnecessarily confuse others involved later.
In your drawing, place the people and objects as you want them to appear later in the movie. It is helpful to display everything in a certain three-dimensionality. You can achieve this relatively easily by creating a grid pattern for the images. On the basis of this it can be seen well
- who or what is in front
- and who or what is located how far behind or to the side of it.
The goal of your storyboard should ultimately be to plan the action and timing. The refinement of the visual representation has lost nothing here, it belongs to the shooting or post-processing of the video.
Use symbols and short explanations
You can make the movements and timing of the movie super clear with arrows and little annotations. For example, arrows can indicate what movement people or objects in the movie should make. The direction in which the camera should turn can also be mapped in this way. You can save yourself a long textual explanation. However, short annotations can be used to show the chronological sequence or to provide further information on the individual image sequences.
Your drawings do not have to be works of art - but convey a clear message
When storyboarding, be sure to think about perspective. It should be constant in every image. Correct representation of the proportions between people and objects is also essential. Only then will it be clear later which camera setting you want to have. You should think about these for each individual image. Because whether you use long shot, medium shot, or close-up can affect the action and mood of the video.
The camera setting is also essential for elements with motion design, as sufficient white space must be planned for during filming.
Therefore, avoid unclear image compositions and overly artistic depictions. An absolute no-go is also a picture composition that leads neither the story nor the viewers to their destination.
Make templates that make it easier for yourself
If you make some templates for a storyboard ahead of time, you’ll have an easier time later. With the help of such a template, you can use layout and images variably without your sketch looking squashed. At the same time, you still have space for additional text or notes. Otherwise, the storyboard will look slightly cluttered and confusing.
Digital or analog: These options and tools are available
There are several ways to create a storyboard. In general, you can simply sketch out your plan by hand , for example. There are also various programs that you can use to create your storyboard.
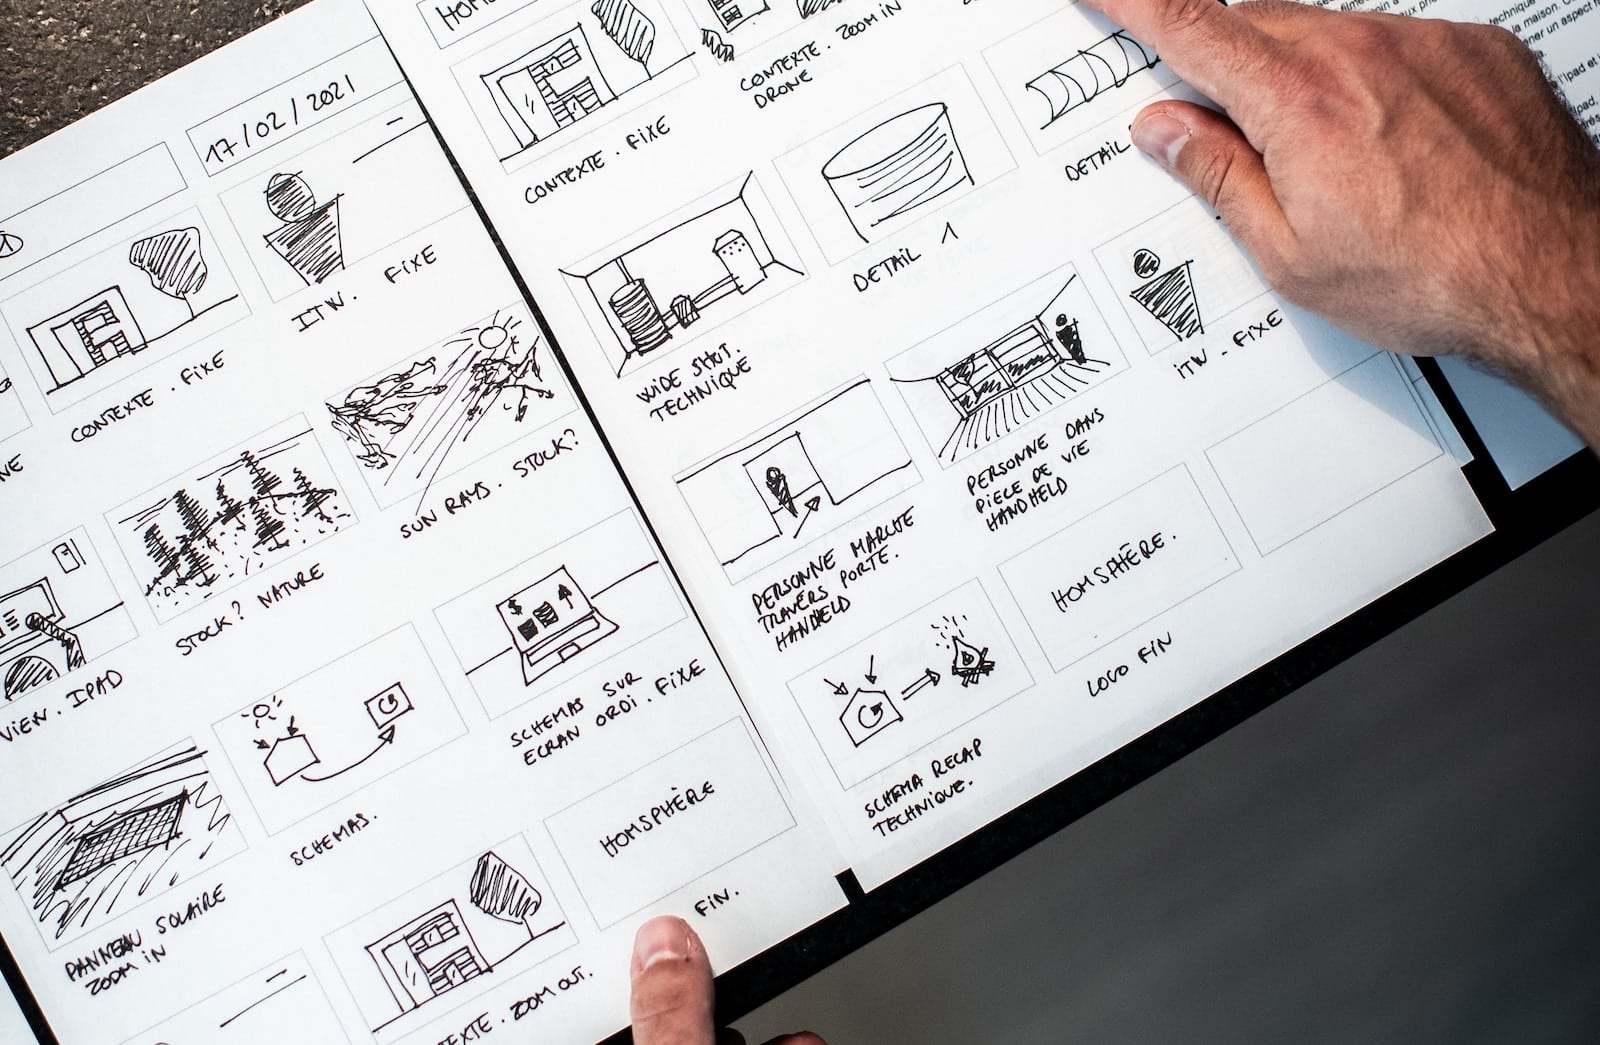
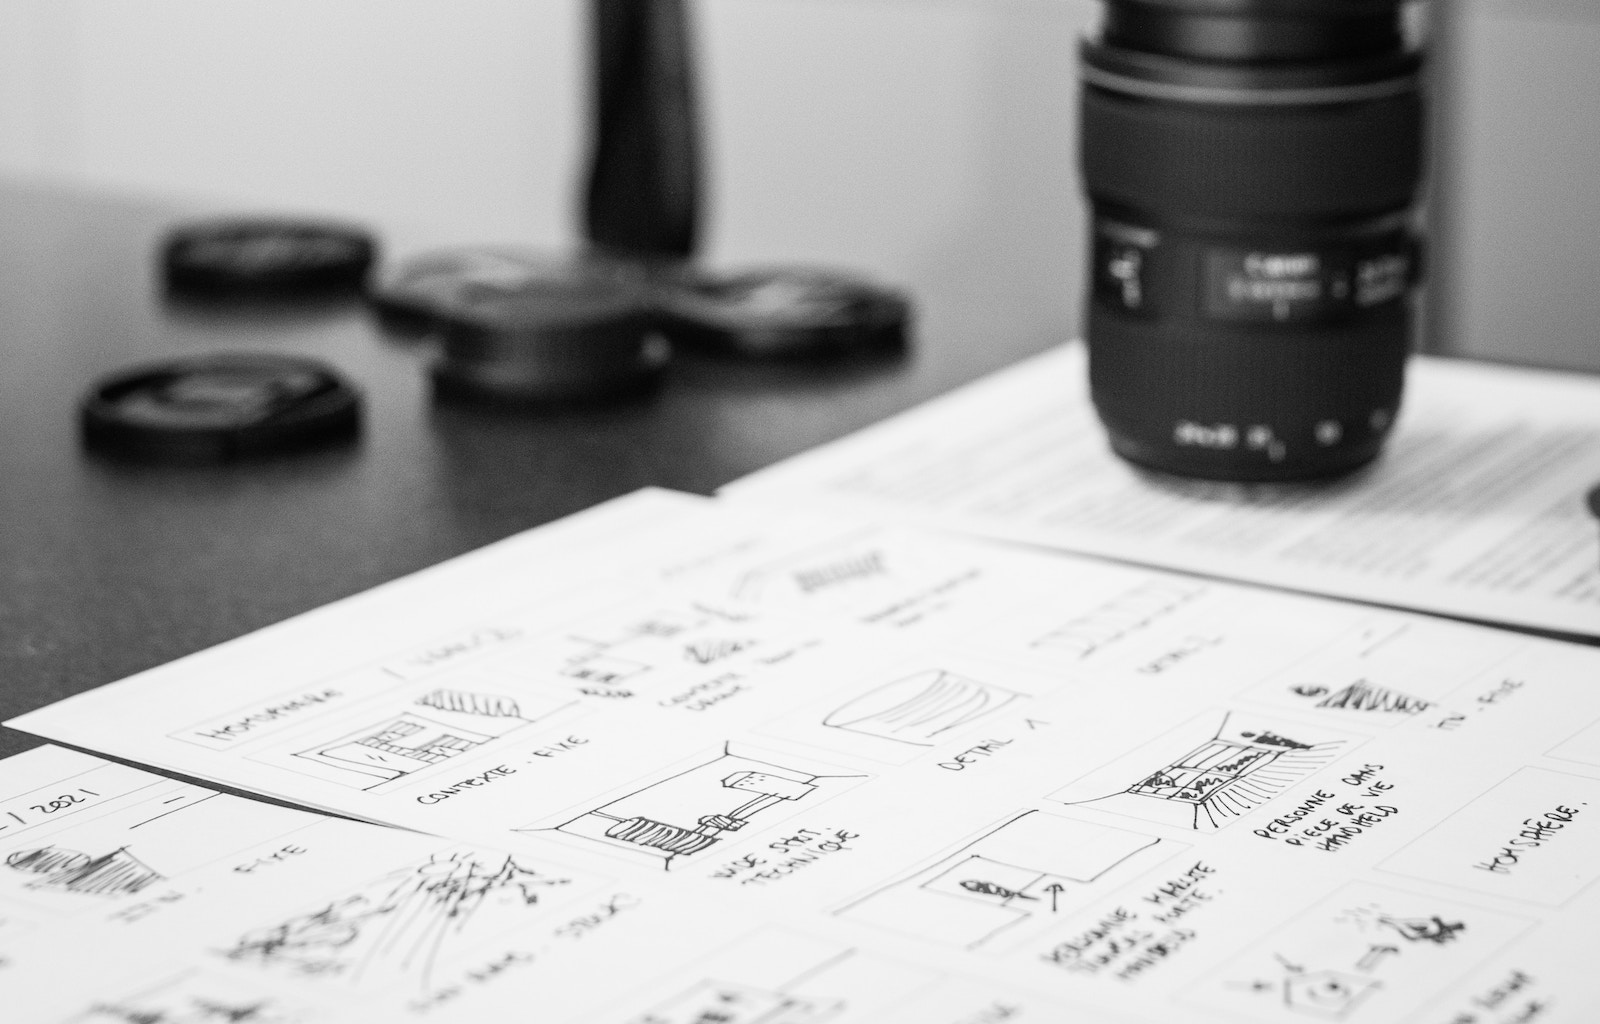
Option 1: Create storyboard analog - very oldschool with pen and paper
Drawing pad and pencil are still the easiest way to create a storyboard. The advantage: You can get started right away without having to deal with the software you have chosen in advance. However, you should make sure that everyone who has to deal with the project after you also understands everything. If your sketches and notes can’t be recognized or read afterwards, the implementation is difficult.
Option 2: Digital storyboards with tools in the browser - ideal for beginners
The more convenient method for many to create a good storyboard quickly and easily is to use digital tools. Meanwhile, there are a variety of programs that you can use to design a storyboard. With such tools you usually already get very usable templates for the design of your storyboard. They allow even laymen in this field to draw the individual scenes directly on the computer. It is also very easy to add, move and change images, annotations and icons. Examples of such tools are Storyboard That, Canva or Adobe Express.
Option 3: Create storyboards with software
For many, specialized graphics software is also helpful when creating a storyboard. With a little experience, for example, the Adobe Photoshop, Adobe Illustrator or a freeware program such as Gimp can be supportive. The advantage of such software: You can directly edit images that are important for the creation of your storyboard and also adjust them afterwards.
Option 4: Create storyboard with PowerPoint or InDesign
Presentation programs such as Microsoft PowerPoint or layout programs such as Adobe InDesign also give you the opportunity to structure your storyboard in a meaningful and appealing way. Especially with InDesign, you have very solid options if you want to focus on an appealing design when it comes to layout. PowerPoint is suitable for all users, since it is very user-friendly.
The right planning tool for your film project
Which method or tool you end up using depends on your own preferences and skills. However, before you get carried away, remember that a storyboard is the plot of the film, clip or video. It’s a handy planning guide designed to make your video production easier, not more complicated! Only then can you successfully realize your film project.
Price overview: How much does the (professional) creation of a storyboard cost?
The prices for an explainer video, product video and other moving images sometimes differ greatly. Similarly, there are costs involved in creating a storyboard. Because here, too, several factors play a role. This includes, for example, the talent and expertise of the storyboard artist. For agencies, it is usually the experience, but also the scope of the film project or the number of people involved that determine the price.
The external appearance of the storyboard is also a cost you should consider when hiring professionals to create your storyboard. This is because colored images are generally more expensive than pure black-and-white motifs. If the storyboard artist not only has to draw the picture, but also color it, this logically means more effort. Monochrome motifs, which are limited purely to form and content, are accordingly cheaper.
As a guideline, however, you can expect a storyboard for your film or video to cost between 50 and 200 CHF per image created.
By the way, when it comes to the cost of a professional storyboard created by an external agency, the method (digital vs. analog) hardly matters. Only the calculation of the effort can be done in different ways. For example, some charge for each edited image individually, while others base their calculations on daily rates or flat rates, on the basis of which they then create the storyboard.
Conclusion: Creating the storyboard - The cornerstone for a successful video
A storyboard helps you structure your film and video ideas. It shows you clearly whether your idea is feasible as you envision it. Basically, a storyboard doesn’t have to be perfect. Most of the time, simple sketches and a few notes, symbols and instructions are quite enough to create a successful storyboard.
If you want it to be a bit more professional, you can also resort to software, illustration programs and special tools for creating a storyboard. However, the focus should always be on the goal. That way, those who produce the film or video later can understand exactly what your vision is.
You have more questions about creating a storyboard? Then just get in touch with us. We’re here to help – no matter what kind of video you want to produce.

Schedule a free consultation with our video experts.
Together we simplify your communication.
Dustin Bättig | CEO
Photo Credits: dix sept, Standsome Worklifestyle